
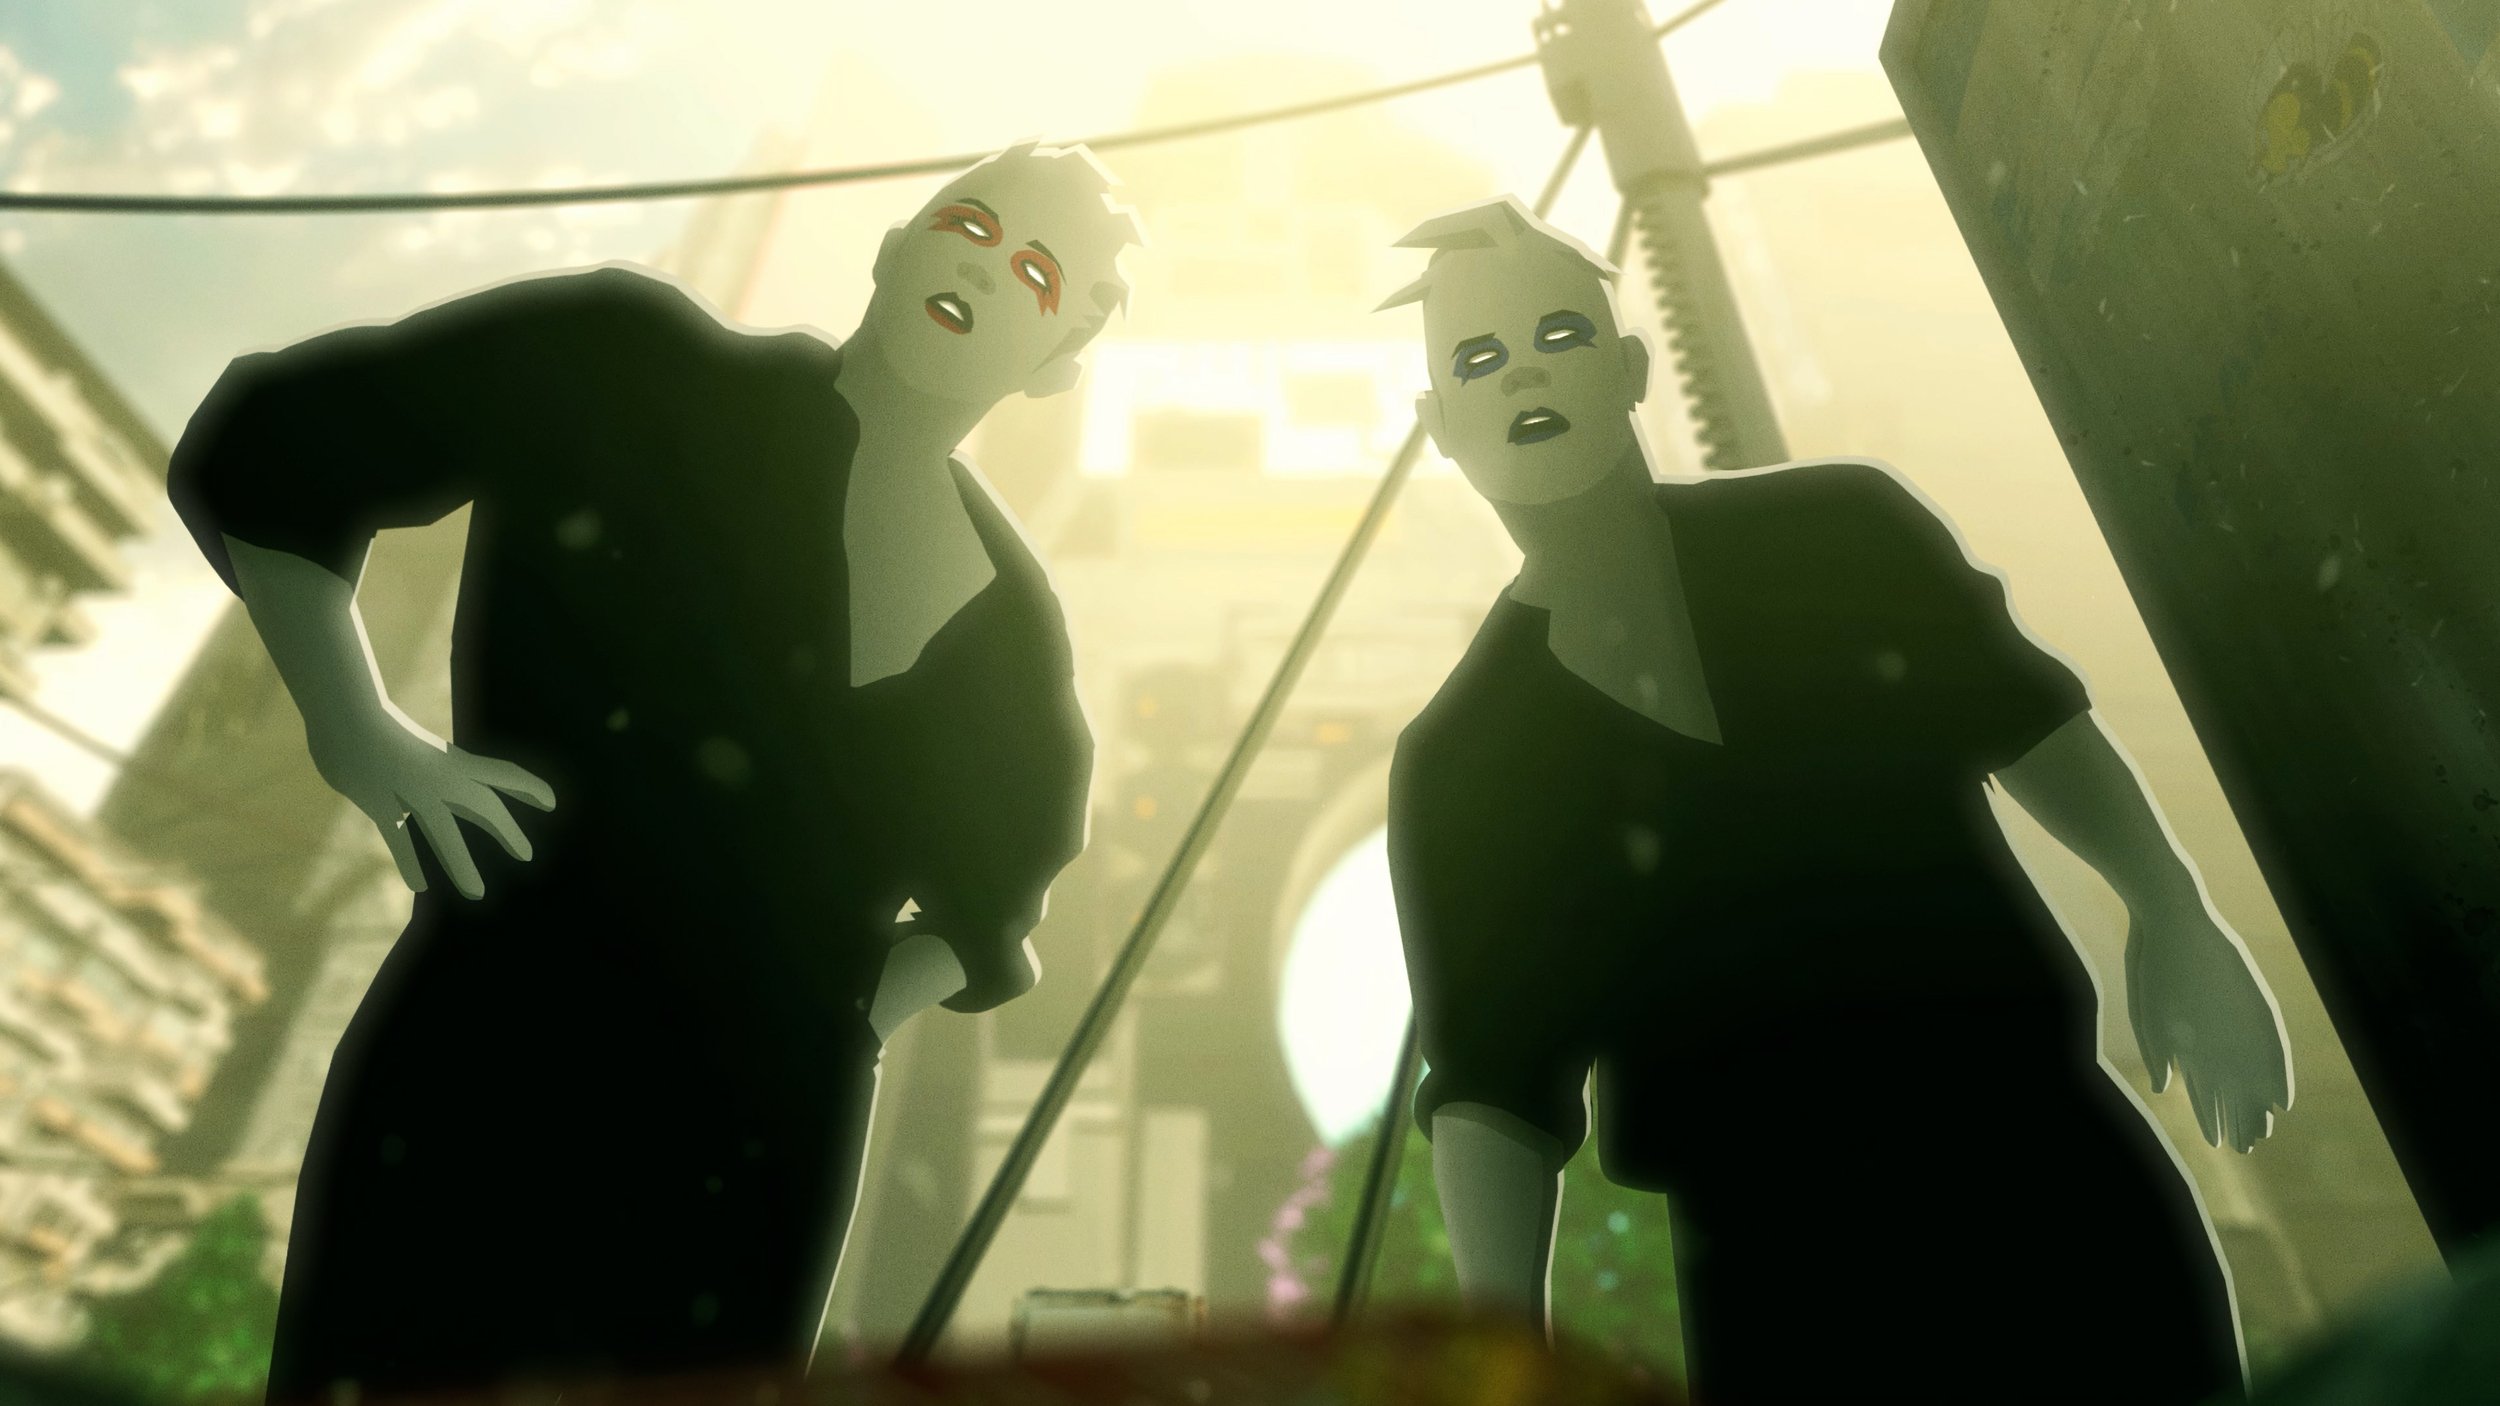
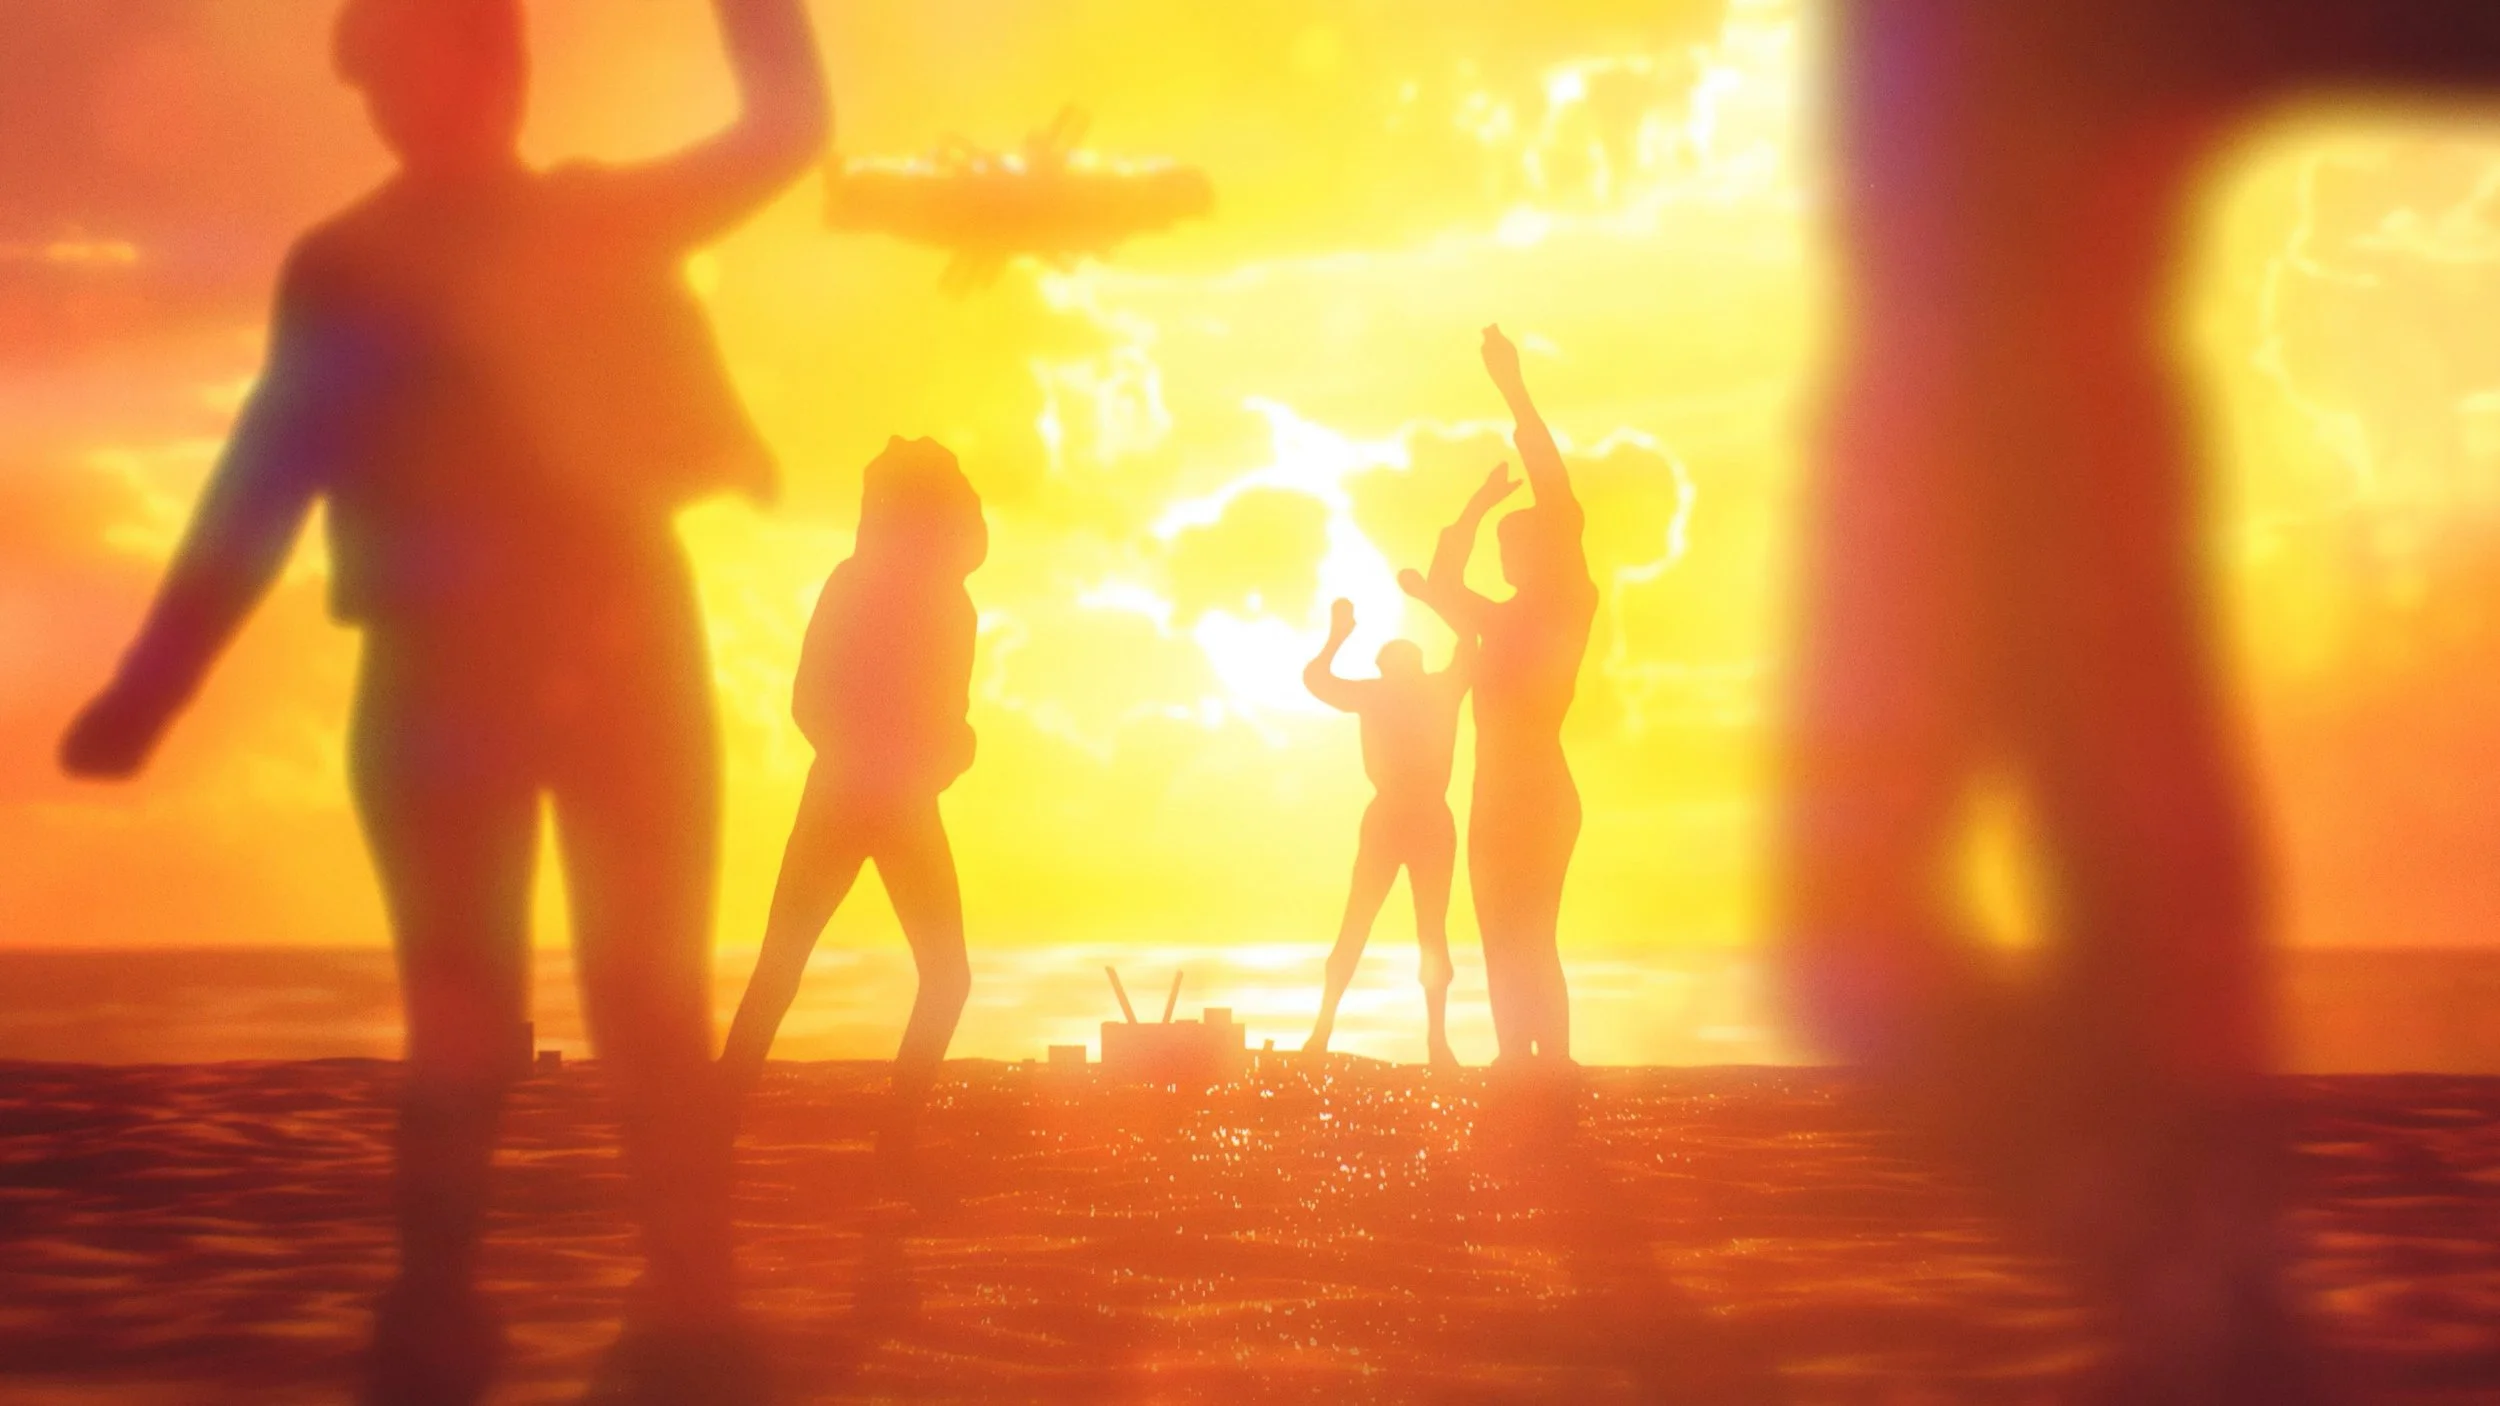
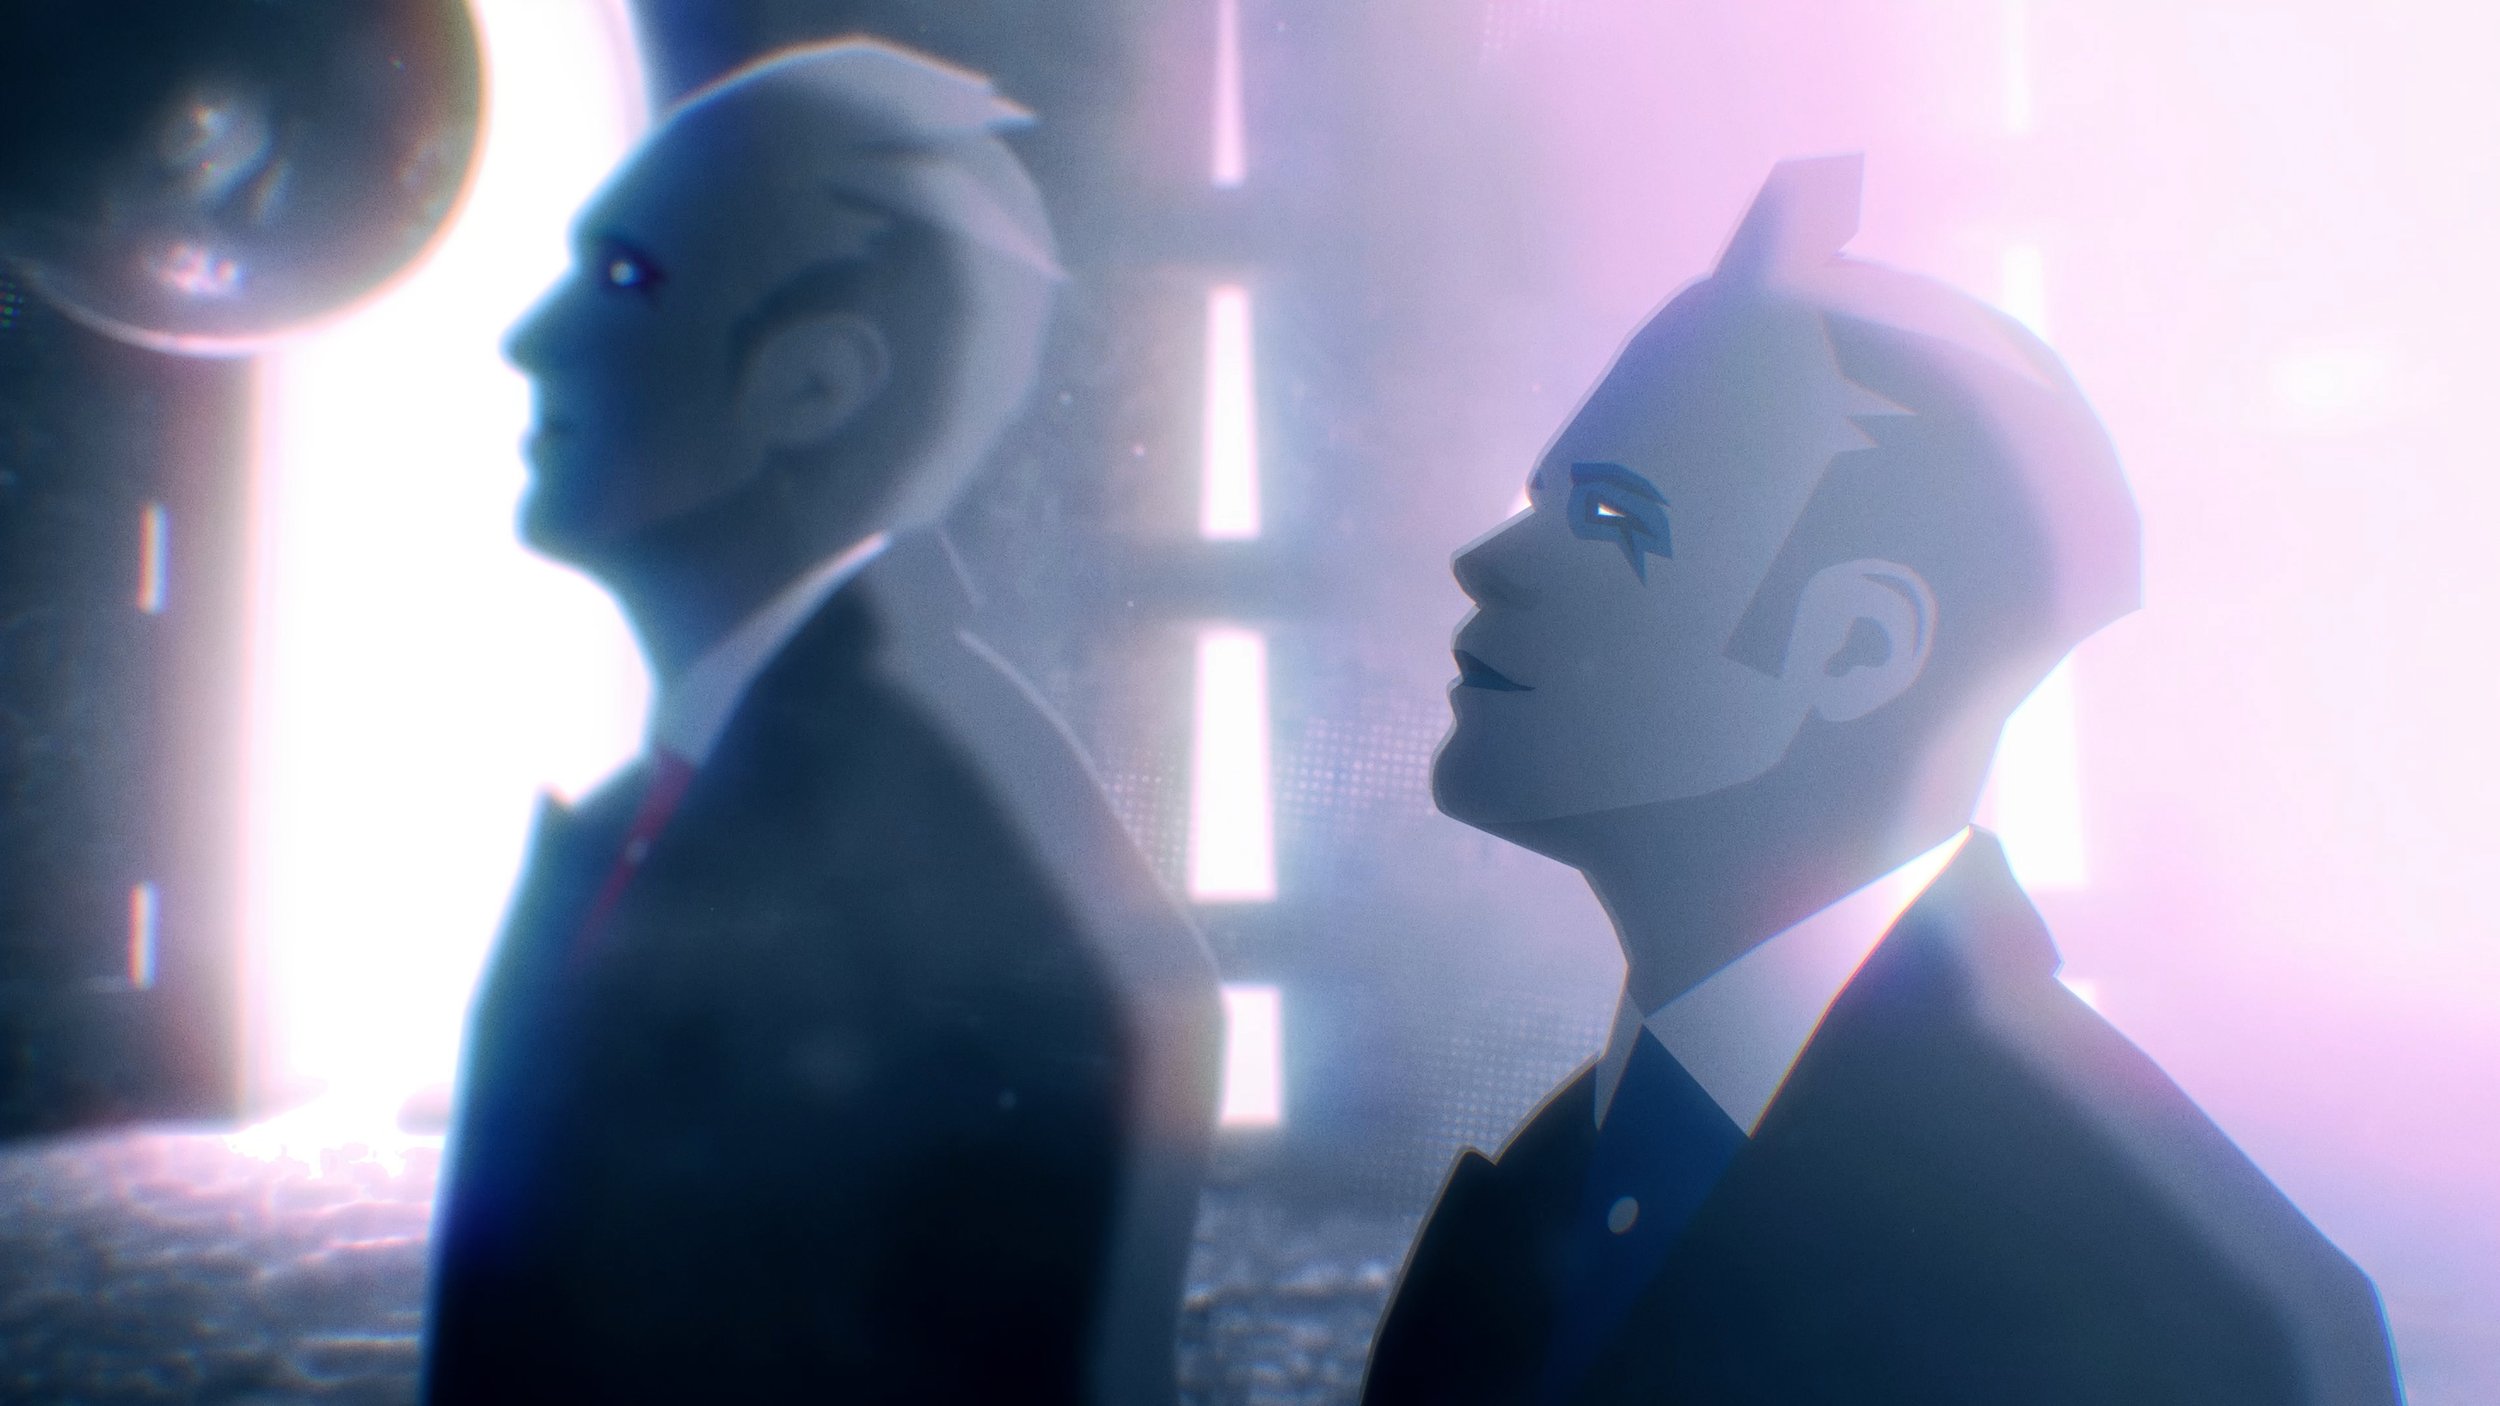
Awoken from timeless slumber, a duo of interdimensional beings discover new powers and visit earth to share their creative energy. Having experienced the highs of life, they travel back to their home world to awaken their frozen companions, freeing them to their own adventures throughout the universe.
From February – June 2022, I once again joined forces with Ry Malena to produce an animated music video for MASCOT, a new creative venture by seasoned musical artists who are now embodied by a groovy interdimensional rock duo.
We certainly went all out with this one, and we are super proud of where the visuals landed after months of hard work. We have more projects lined up, so stay tuned for more, check out our work while you wait, and we’ll see you next time.


My involvement
After the success of People Person, it was a no-brainer to jump back into the fray with Ry as we forge ever onward, planting Malena Industries’ foot firmly in the ground. We were approached by MASCOT to produce a music video for their debut single Right Now, which is a groovy rock tune that, while catchy, is far from simplistic.
Ry and I worked tirelessly for 4 months to conceptualize, storyboard, film, and animate this new music video, all while enhancing our animation pipeline from where it was during our incipient title, People Person. While reprising my role as Lead Environment Artist on the project, I also championed our project management, implementing workflow improvements to help us track the progress, status, and notes for every one of the 92 shots in the finished music video (People Person has over 190 in case you were curious).
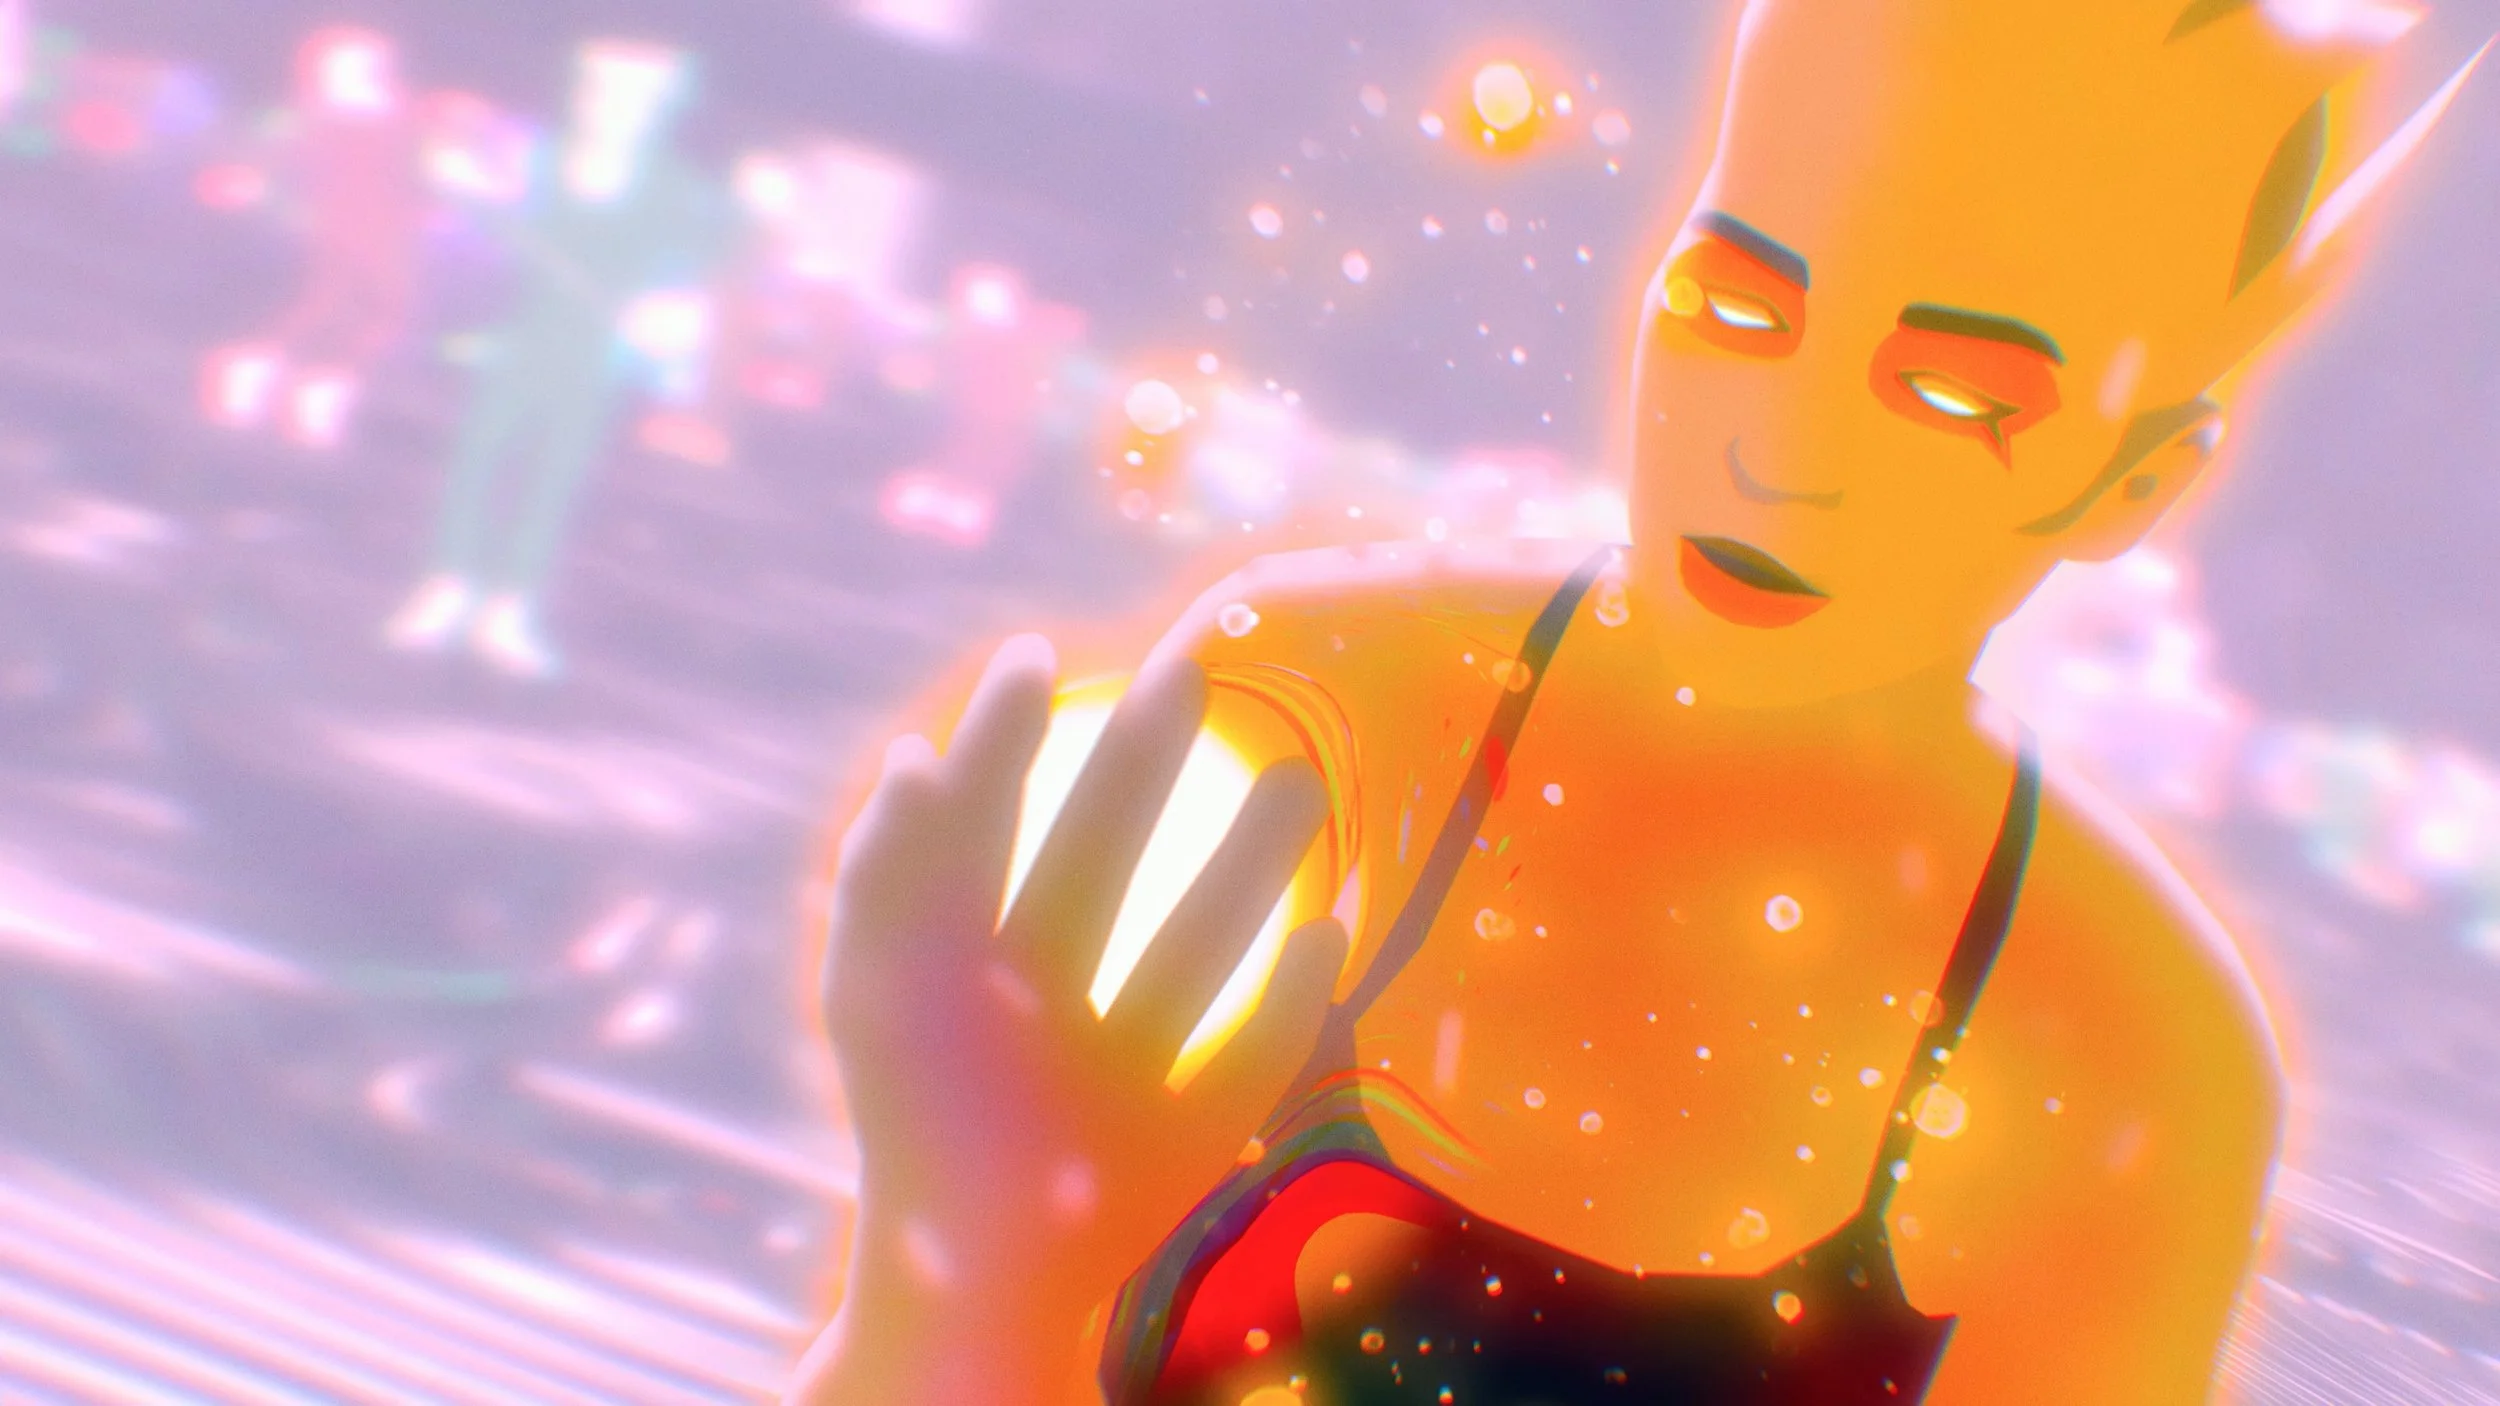
Once again, we filmed the performances live action and hand-animated them using bespoke rotoscoping techniques and art style, ensuring we captured every micro-detail of emotion and expression given to us by the artists. Drawing from our experience during People Person, we composited these character animations with environments built entirely in Blender, mixing 2D and 3D animation techniques of parallax, level of detail management, and implying visual information rather than adhering to strict photorealism in order to achieve Malena Industries’ now signature style.
We hope you enjoy <3
Some behind the scenes stuff…
(If this music video were on DVD, they’d call this section “Special Features”)

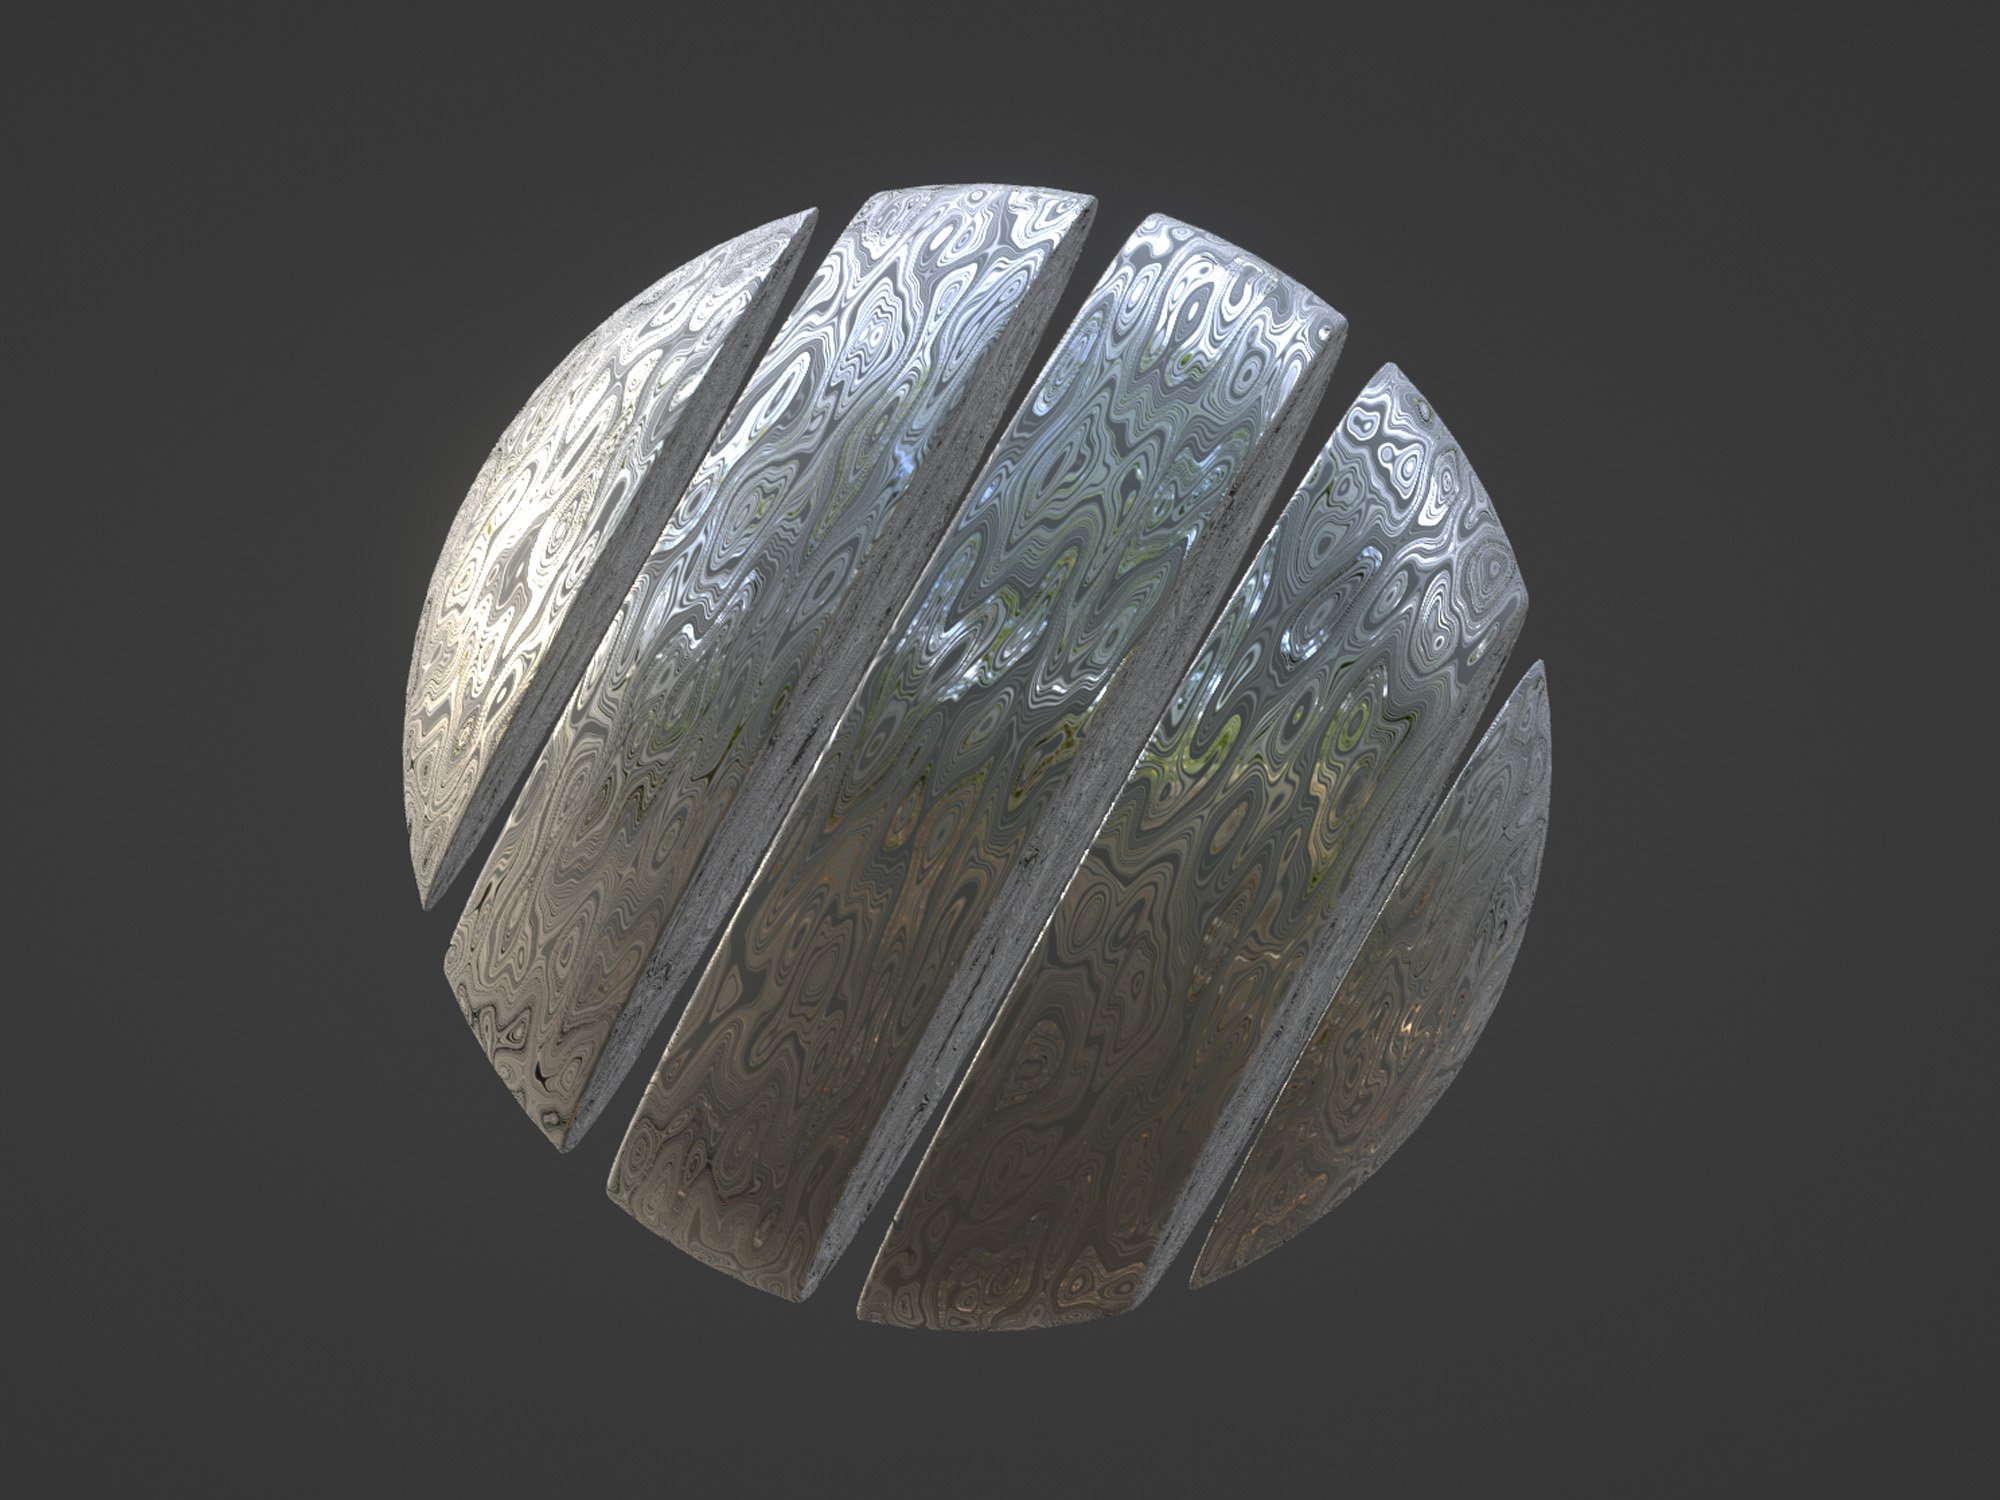
Materials
Blender has various built in procedural texture nodes, with texture coordinates and various parameters as input, and a color or value as output. No texture data-blocks are needed; instead node groups can be used for reusing texture setups.
Each shader node has a color input, and outputs a shader. These can then be mixed and added together using Mix and Add Shader nodes. No other operations are permitted. The resulting output can then be used by the renderer to compute all light interactions, for direct lighting or global illumination.
The Principled BSDF that combines multiple layers into a single easy to use node. It is based on the Disney principled model also known as the “PBR” shader, making it compatible with other software such as Pixar’s Renderman® and Unreal Engine®. Image textures painted or baked from software like Substance Painter® may be directly linked to the corresponding parameters in this shader.
This “Uber” shader includes multiple layers to create a wide variety of materials. The base layer is a user controlled mix between diffuse, metal, subsurface scattering and transmission. On top of that there is a specular layer, sheen layer and clearcoat layer.
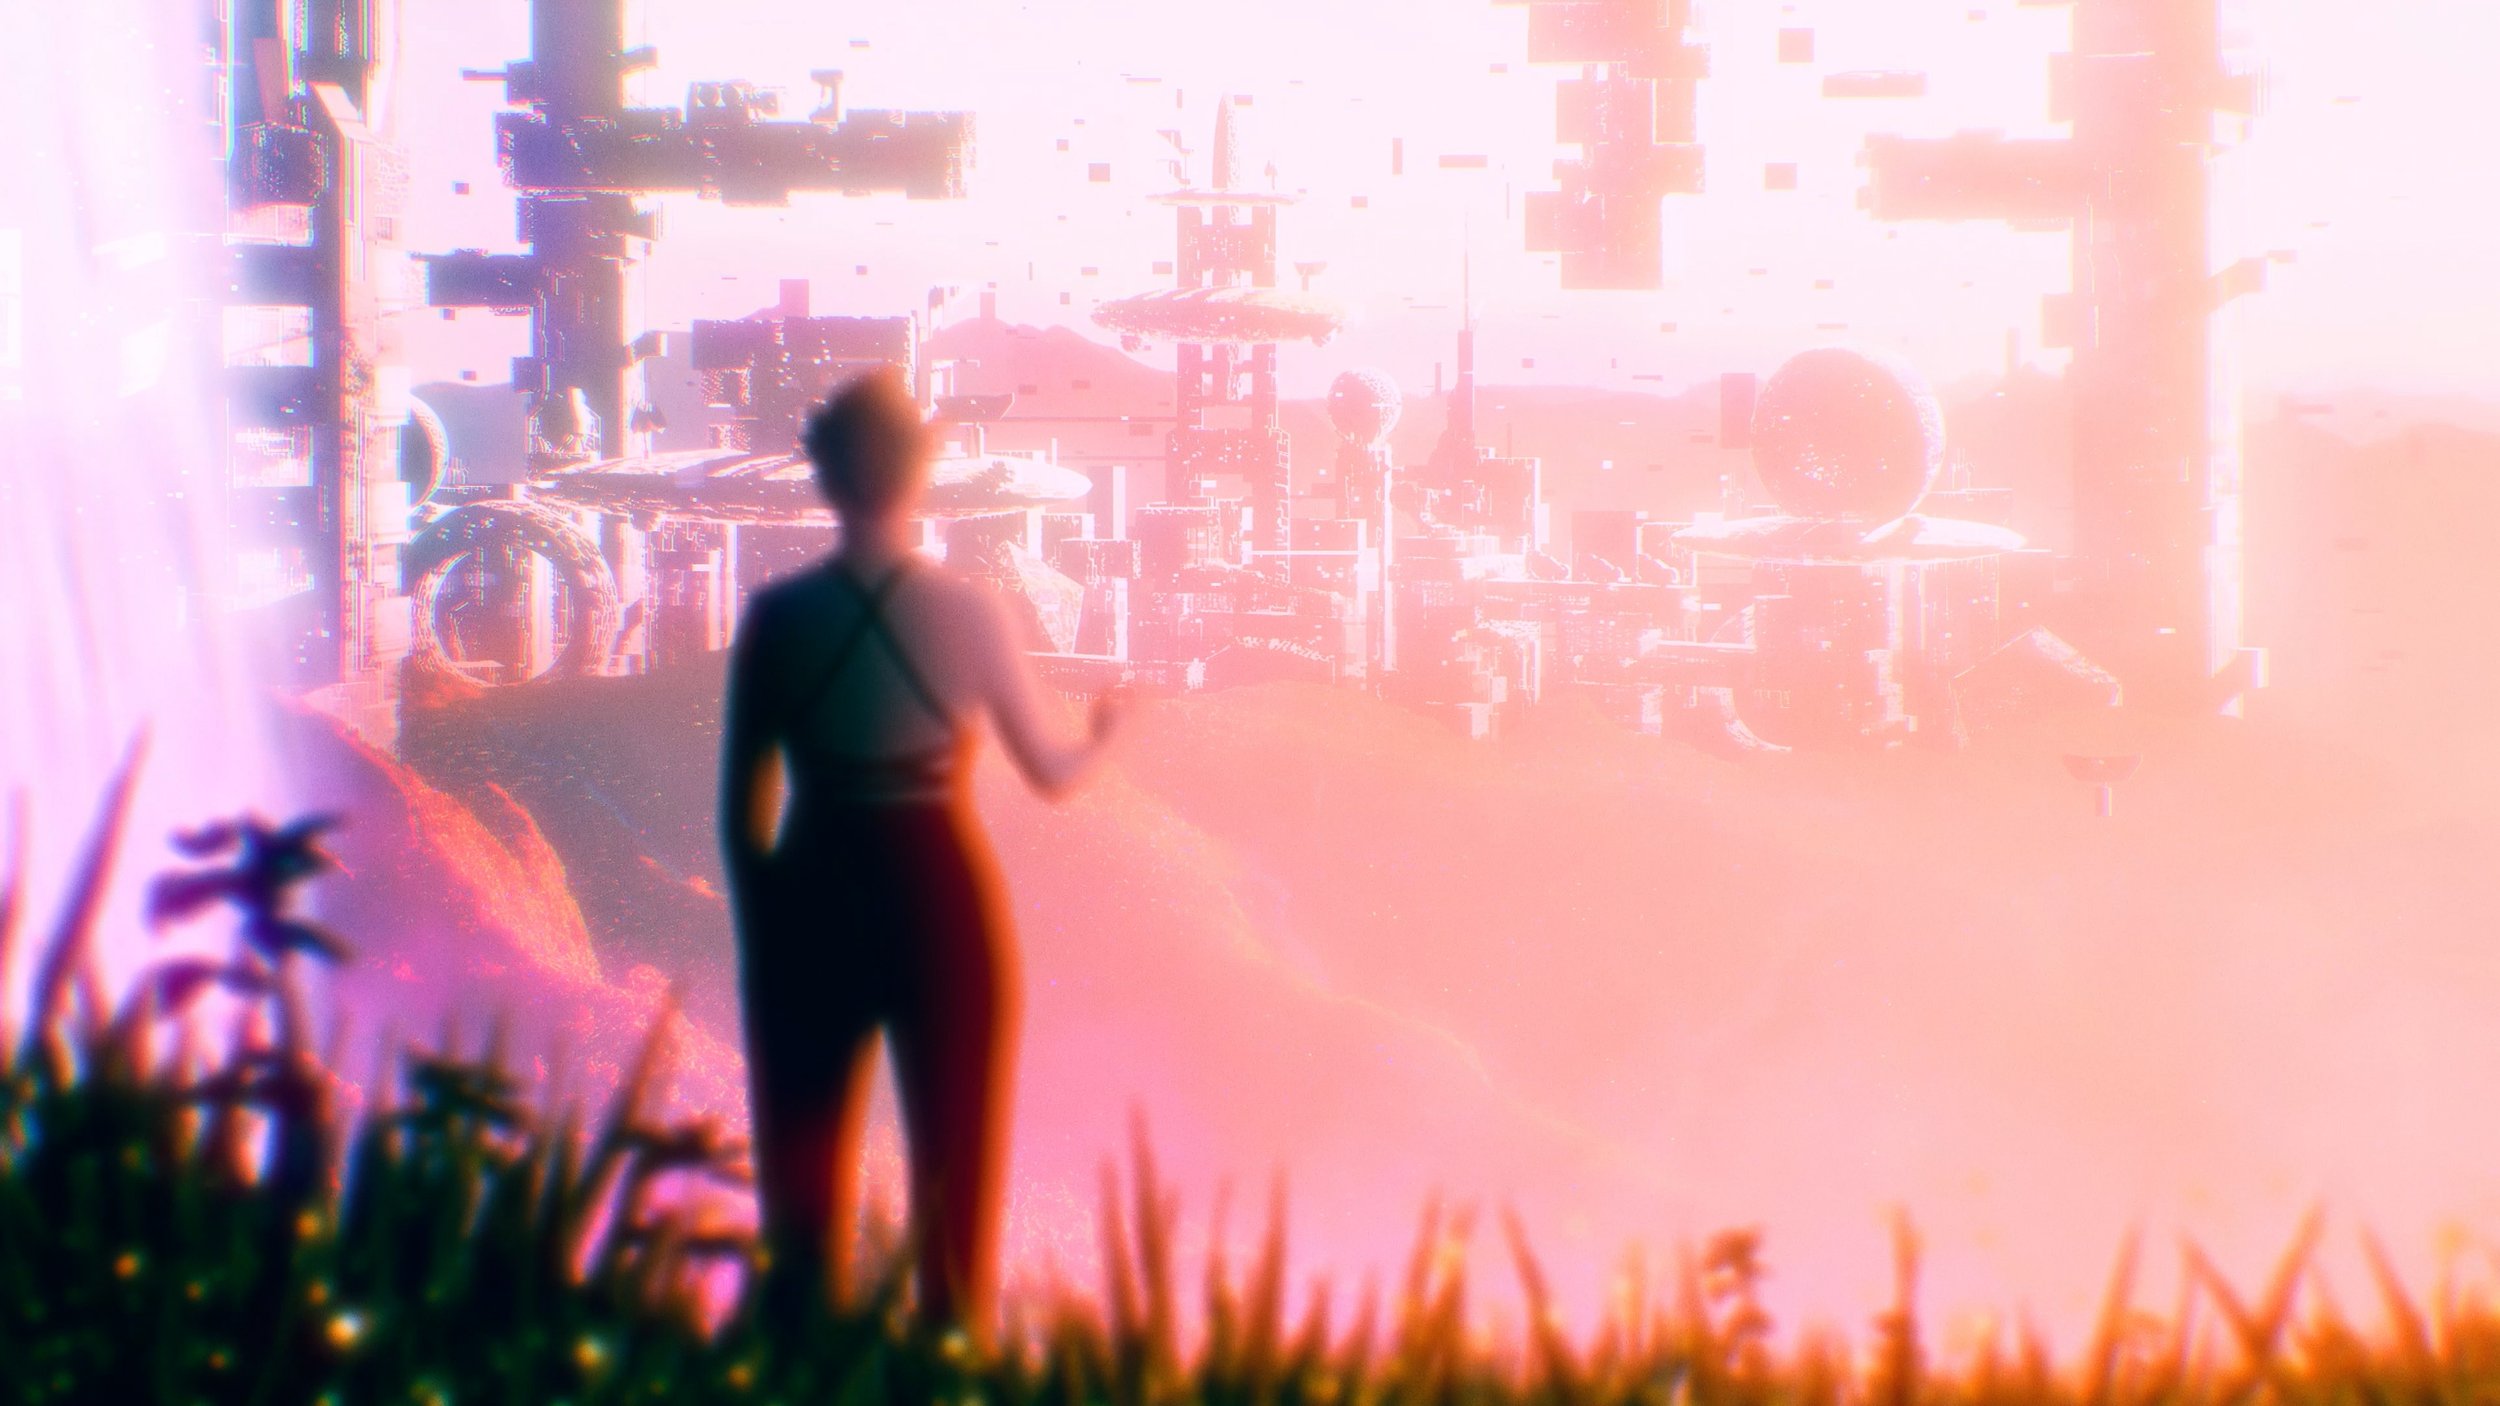
Many of the materials you see in our work are procedural, meaning they are almost infinitely-editable and bespoke. Often, you can’t find photo references that communicate “interdimensional alien metal” out in the real world, so you have to create it. Other times, you need large swathes of asphalt and even the largest texture you can find ends up looking like it repeats, so rather than loading scores of images into our projects, I worked to create textures that achieved the looks we wanted with a simple (ok sometimes not so simple) node setup.

Eevee
Eevee is Blender’s realtime render engine built using OpenGL focused on speed and interactivity while achieving the goal of rendering PBR materials. Eevee can be used interactively in the 3D Viewport but also produce high quality final renders.
Eevee materials are created using the same shader nodes as Cycles, making it easy to render existing scenes. For Cycles users, this makes Eevee work great for previewing materials in realtime.
Unlike Cycles, Eevee is not a raytrace render engine. Instead of computing each ray of light, Eevee uses a process called rasterization. Rasterization estimates the way light interacts with objects and materials using numerous algorithms. This allowed us to maximize our output speed while still achieving great looking environments.

Rendering
Rendering is the process of turning a 3D scene into a 2D image. What the render looks like is defined by cameras, lights and materials. These are shared between Eevee and Cycles, however some features are only supported in one or the other.
Renders can be split up into layers and passes, which can then be composited together for creative control, or to combine with real footage. Freestyle can be used to add non-photorealistic line rendering.
Blender supports interactive 3D viewport rendering for all render engines, for quick iteration on lighting and shading. Once this is done, the final quality image or animation can be rendered and output.

New and improved shot tracking spreadsheet

Original shot tracking sheet style, carried over from People Person
Project management
About two months into the project, with a little over a month left in production, I realized that our method of tracking shot status from People Person was insufficient for our needs. So, I spent a few days revising our spreadsheet to host more granular information about each shot, as well as a dashboard where we could take a 30,000ft view of the whole project, and the status of each component of the music video.
In order to keep the team on track and give us the greatest view into what work needed to be done on every shot, we broke out each one into four separate component flows: Pre-visualization (PV), 3D backgrounds (3D), 2D character animations (2D), and compositing (COMP).
We gave each scene its own sheet to be able to compartmentalize the work into each new environment or beat in the story. Additionally, we aggregated the components cell data into a final sheet that give us instant access to the data we needed to build out our dashboard and see things from a bird’s eye view.
Each component was given a column to designate the priority of the shot, the status of the shot (Not Started, In Progress, Ready for Review, Changes Requested, Final Approved, and Might Revisit), and finally a column for notes. Distinct from our workflow during People Person, this gave us a level of granularity that propelled us through the finish line.